Starting henna for the first time can feel intimidating, but it doesn’t have to be. At Shifaz Henna, we believe learning should be simple, safe, and inspiring. This updated 2025 guide gives you the right tools, five practice strokes, and a mini starter design you can try today. Follow the process closely, and you’ll see your stain darken beautifully over the next 48 hours, proof that even beginners can achieve stunning results. And if you’d rather enjoy expert designs without the practice, our henna home service in Dubai makes it easy to get professional artistry brought right to your doorstep.
What Is Henna and Why Start Now?
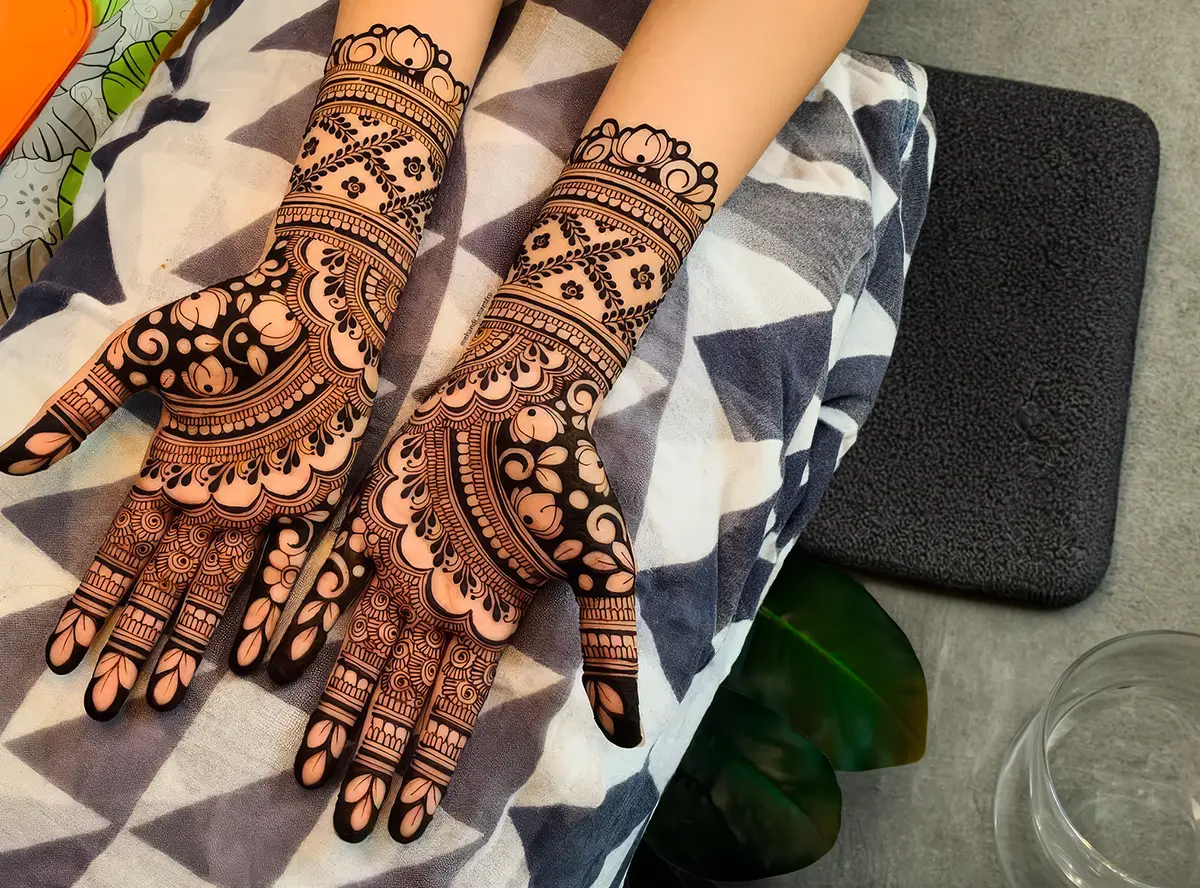
Henna is a natural dye made from the Lawsonia inermis plant. For centuries, it has been used in celebrations, beauty rituals, and cultural traditions. In 2025, henna is more popular than ever, not just for weddings, but for festivals, fashion shoots, and even casual body art. The good news? You don’t need to be an artist to start. With the right strokes and aftercare, anyone can create clean, elegant patterns.
Step 1: Safety First
Not all henna is created equal. Avoid “black henna” or pastes that smell like hair dye, as these often contain PPD (para-phenylenediamine), a chemical linked to burns and allergic reactions. Natural henna, on the other hand, is green before mixing, earthy in scent, and safe for skin. At Shifaz Henna, we only use organic, lab-tested powders to guarantee safety and quality.
Step 2: Tools and Materials
To get started, you’ll need a few essentials. Beginners often work with ready-made cones or applicator bottles, filled with organic henna paste prepared from fresh powder. Lemon juice or brewed tea is usually added during mixing, along with sugar to help the paste stick better, and essential oils like lavender or tea tree for stronger stains. Keep cotton pads and tape handy for cleanup, and practice on tracing paper or a simple printed grid before applying directly on the skin.
Step 3: Mixing the Paste
Consistency is key to good results. A reliable beginner’s mix includes measured amounts of powder, liquid, sugar, and oil. The table below outlines a simple recipe that works for most first-time users.
| Ingredient | Quantity | Purpose |
| Henna powder | 20 g | Provides a natural dye base |
| Lemon juice/tea | 12–14 g | Activates dye release |
| Sugar | 1 tsp | Keeps paste sticky and flexible |
| Essential oil | 3–4 drops | Keeps pasty and flexible |
Mix everything until smooth, cover tightly, and allow it to rest for 8–12 hours at room temperature. By morning, the paste should be rich, aromatic, and ready to use.
Step 4: Skin Preparation
Before applying henna, wash the skin thoroughly with soap and water to remove oils or lotions that might block absorption. Dry the area completely and try to apply on warm skin for best results, as blood flow and body heat encourage deeper staining. Many beginners find that applying henna in the evening leads to richer tones by the next day.
Step 5: Mastering the Strokes
Every design is built from a handful of basic moves. Start by practicing dots, then move to lines, curves shaped like the letter “C,” more flowing “S” curves, and finally teardrops. Instead of rushing to complete a design, fill practice sheets with rows of these strokes for a few minutes daily. Much like handwriting practice, this repetition builds muscle memory and makes your lines smoother over time.
Step 6: Your First Mini Design
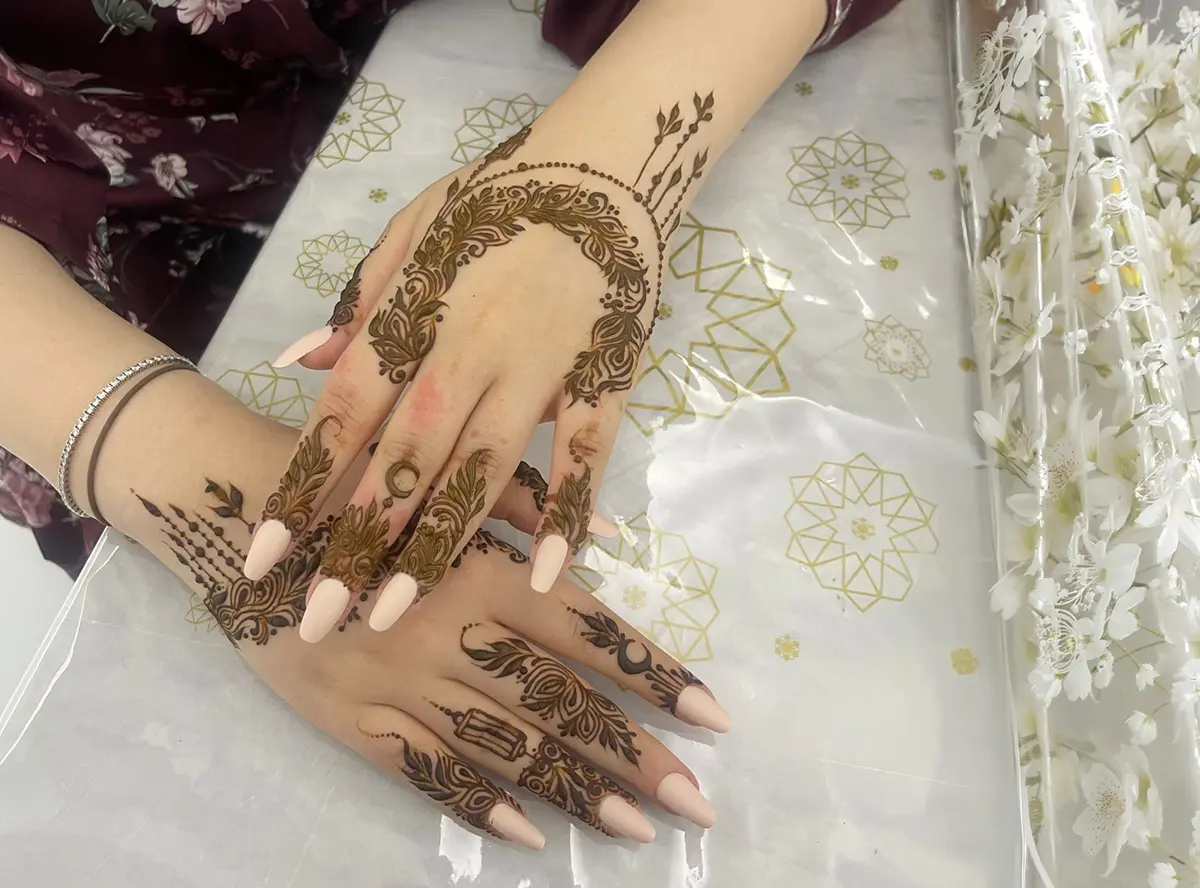
Once you’re comfortable, try a small vine across the back of the hand. Begin with a simple flowing line, add a series of leaves formed from teardrops, and place a paisley at the center for a balanced focal point. This first piece doesn’t need to be elaborate; even a ten-minute practice design can look elegant and boost your confidence.
Step 7: Drying, Sealing, and Aftercare
Patience is the secret to strong color. After applying henna, allow it to dry for 15–20 minutes. To keep the paste adhered to the skin, lightly dab with a sugar-lemon mixture. For best results, leave it on for 4–8 hours or overnight. When ready, scrape it off gently without using water. Avoid washing the area for the first 24 hours—this allows the stain to darken naturally.
Step 8: Stain Timeline
Henna develops gradually. The chart below shows what you can expect.
| Timeframe | Color Stage |
| At removal | Bright orange |
| 24 hours later | Medium brown |
| 48 hours later | Deep brown with red undertones |
| Duration on skin | 7–10 days depending on care |
By following aftercare instructions and keeping the area moisturized with natural oils, your design will stay fresh for longer.
Troubleshooting
Beginners often face small challenges. If your lines shake, slow down and stabilize the cone with both hands. If the paste feels runny, add more powder and allow it to rest again. A light stain usually means the paste was old, removed too soon, or washed with water too early. Cracked paste signals a need for slightly more sugar in your mix. These are normal hurdles and part of the learning curve.
Beyond the Basics
Once you’re comfortable with the strokes and a simple design, explore larger patterns, bridal layouts, and seasonal motifs. And if you’d rather enjoy expert results without the effort, consider booking our Henna home service in Dubai. It’s a convenient way to get professional designs at home, whether for weddings, parties, or personal celebrations.
Final Thoughts
Henna is more than just decoration, it’s art, tradition, and self-expression. By starting small with practice strokes, simple vines, and basic paisleys, you’ll gradually gain confidence and precision. At Shifaz Henna, we’ve seen countless beginners grow into skilled artists simply by practicing consistently and following these steps. When you’re ready for more, book our classes, explore our designs, or try our Henna home service in Dubai. Your henna journey begins here, and with practice, every design you create will be more stunning than the last.
Frequently Asked Questions (FAQs)
1. Is black henna safe?
No. Black henna often contains harsh chemicals like PPD that can damage the skin. Always use natural henna.
2. How long should I keep the paste on?
Keep it for 4–8 hours, then gently flake it off. Avoid water for 24 hours afterward.
3. Can I make designs last longer?
Yes. Moisturize with natural oils and avoid scrubbing or excessive water contact.
4. Do I need to refrigerate leftover paste?
Freezing small portions will keep henna fresh and usable for weeks.